Catskill-craftsmen 1448 Bedienungsanleitung
Stöbern Sie online oder laden Sie Bedienungsanleitung nach Möbel Catskill-craftsmen 1448 herunter. Catskill Craftsmen 1448 User Manual Benutzerhandbuch
- Seite / 14
- Inhaltsverzeichnis
- LESEZEICHEN
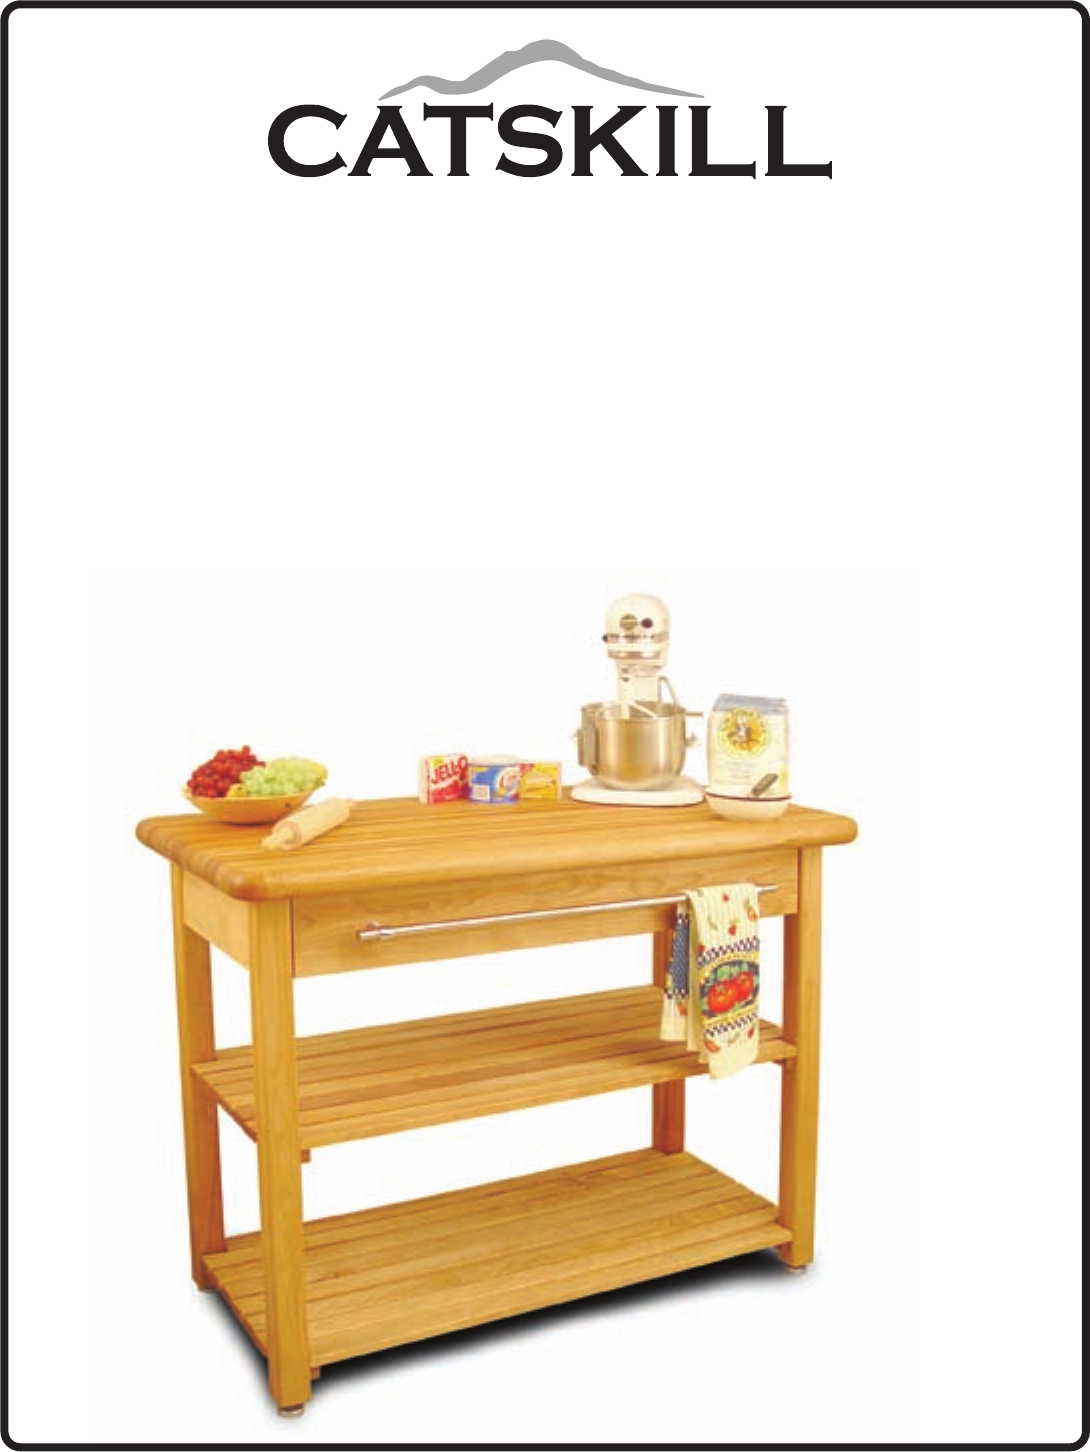
- Assembly Instructions 1
- Model 1448 1
- Parts List 2
- Continued 3
- INSTRUCTIONS FOR BASTIONS 4
- ASSEMBLE SIDE PANELS 5
- PREPARE SIDE 6
- ASSEMBLIES FOR BACK 6
- ATTACH BACK BRACE 7
- ATTACH SHELVES 7
- ATTACH TABLE TOP 8
- INSERT LEVELER FEET 9
- Assemble Drawers 10
- Illustration 8C 11
- Drawer Front 11
- Illustration 8D 11
- Illustration 8E 11
- ATTACH TOWEL BAR 12
- INSERT DRAWER 13
- PRICE TO OUR 14
- CUSTOMERS! 14
Inhaltsverzeichnis
CRAFTSMEN, INC.Assembly Instructions Model 1448Model 1448A. Assembly uses the Bastion System; a simple yet rugged compression fastening system.B. Th
STEP 8Assemble DrawersA. Attach the Drawer Back to the Left and Right Drawer Sides with four 1 ¼”#8 Screws. Make sure the slots that run the length of
Illustration 8CDrawer Front D. Insert the B-Nuts into the nut access holes on the inside of the Drawer Sides with the threaded end facing out. Take th
11STEP 9ATTACH TOWEL BARSee Illustrations 10 and 11. Screw Nickel Plated Towel Bar Posts into the drawer front using 1-1/4” #8 screws. Attach pipe hol
STEP 10INSERT DRAWERA. Align the drawer glides attached to the drawer and the other half of the glides attached to the glide support braces. Slide the
BUTCHER BLOCK OIL COUPON For continued beauty and long life of your Catskill Craftsmen cart, we recommend Catskill Craftsmen’s Butcher Block Oil. If
P/N: TT1448B(1) Table Top 48” x 24” x 2”P/N: SLS1448B(2) Slated Shelf 43-3/4” x 18” x 1-3/4”P/N: DF1448B(1) Drawer Front 39-3/8” x 5-3/8” x 3/4”P/N:
P/N: L-bracket1448B(4) L-Brackets(10)(10)(10)P/N: Leveler1448(4) 7/8 LevelerP/N: Pipe1448B(1) Nickel Plated Towel Bar Handle32” x 5/8”P/N: EndCap1448B
Bastion AssemblyINSTRUCTIONS FOR BASTIONS3ILLUSTRATION ONLY. See Steps 1 & 3 for bastion placement for this unit.
4STEP 1ASSEMBLE SIDE PANELSA. Each side panel consists of two (2) legs, one (1) top side brace and one (1) glide support brace. When assembled, diagon
PREPARE SIDE ASSEMBLIES FOR BACK BRACESThe Top Back Brace utilizes the Bastion system for attachment. Place the Bastion posts into their positions on
STEP 3ATTACH BACK BRACEA. You may find it easiest to attach the back brace and shelves by inverting the island. Attach the back brace with bastions to
7STEP 5TABLE TOP PREPARATION & ATTACHINGAttach four (4) “L” brackets (using 5/8” #6 screws) to the bottom side of the table top. Note the proper p
STEP 7INSERT LEVELER FEETA. Hammer the threaded T-bolt into the predrilled hole on the bottom of each leg. Screw the leveler into the T-bolt. Height o
Verwandte Produkte und Handbücher für Möbel Catskill-craftsmen 1448
 (13 Seiten)
© 2020, manymanuals.de. Alle Rechte vorbehalten. | 0.794 s |
 Manymanuals.com
 Manymanuals.de
 Manymanuals.fr
 Manymanuals.it
 Manymanuals.pl
 Manymanuals.cz
 Manymanuals.es
 Manymanuals-pt.com
Kommentare zu diesen Handbüchern